How to Make a Picture Frame
Prelude
As someone who earns a living sitting in front of a computer manipulating mental abstractions in the twilight of the industrial age, i like getting into the workshop to make something by hand. This time it's a simple wooden picture frame.
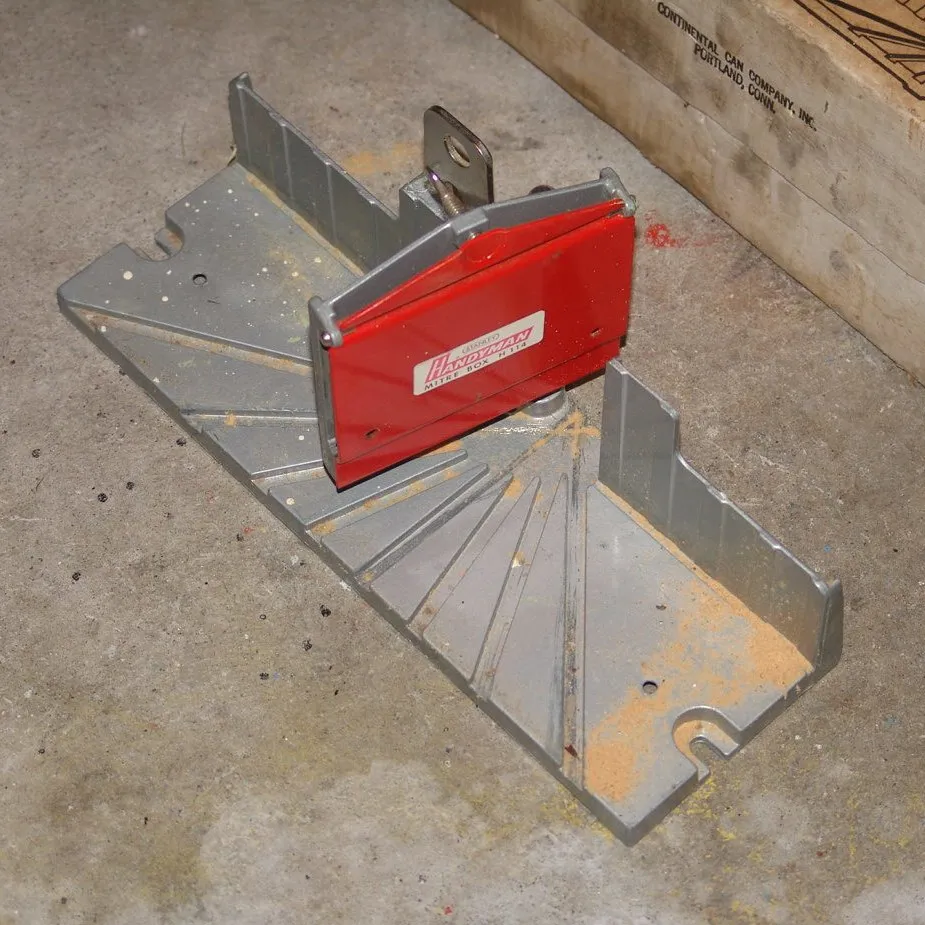
Simple, but not easy to make, at least with hand tools, as i'd set out to do. To look good, the frame's opposing sides must have equal length, and the eight 45°-mitred ends must meet in pairs without gaps, a manual challenge. On my first try, i mismeasured and miscut so many times i ran out of wood. On my second try, i had to fill the gappy joints with sawdust and glue, an unseemly site. On my third try, i wised up and bought help, a 45$, second-hand, made-in-the-USA Stanley H114 Mitre Box.
Ready for take three and looking for wood, i saw the clouds part and rays of light shine down upon my neighbor's dumpster, into which renovators threw old kauri rafters, rare native timber and perfect picture frame material. O frabjous day! Callooh! Callay!
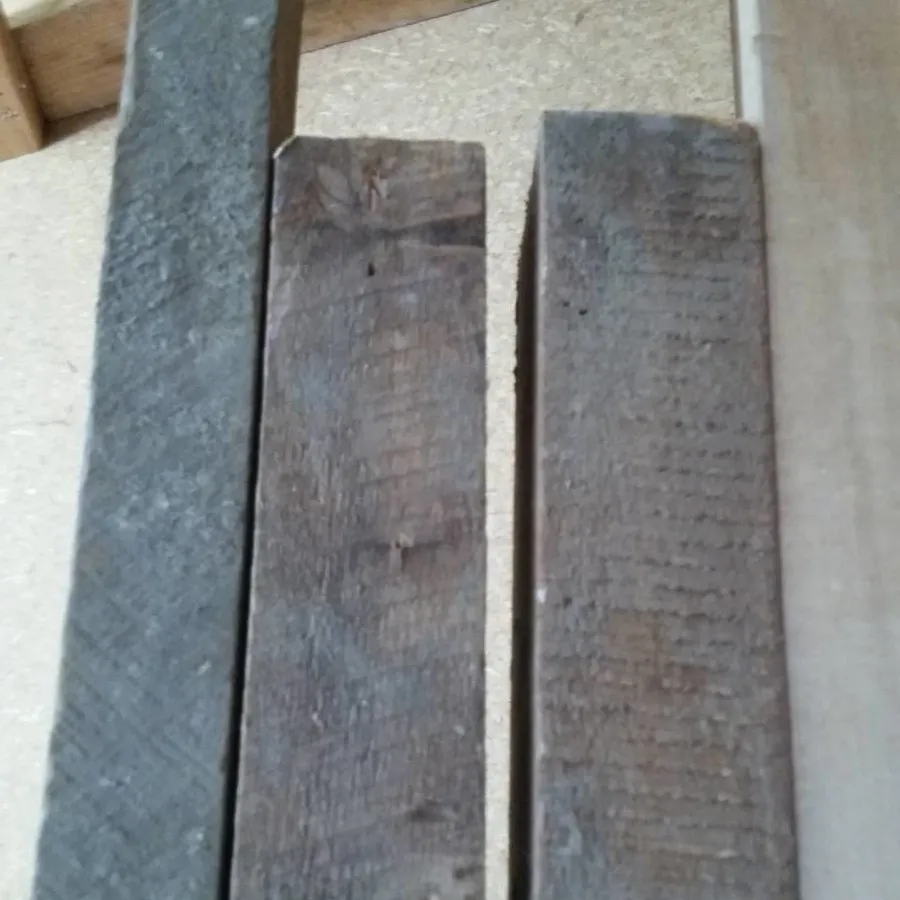
I fished out five rafters, denailed them, and took one to the local community workshop, where i cut and rebated it into frame blanks with a table saw and router, respectively. No, those aren't hand tools, but i'd been meaning to learn how to use the routing table for a while.
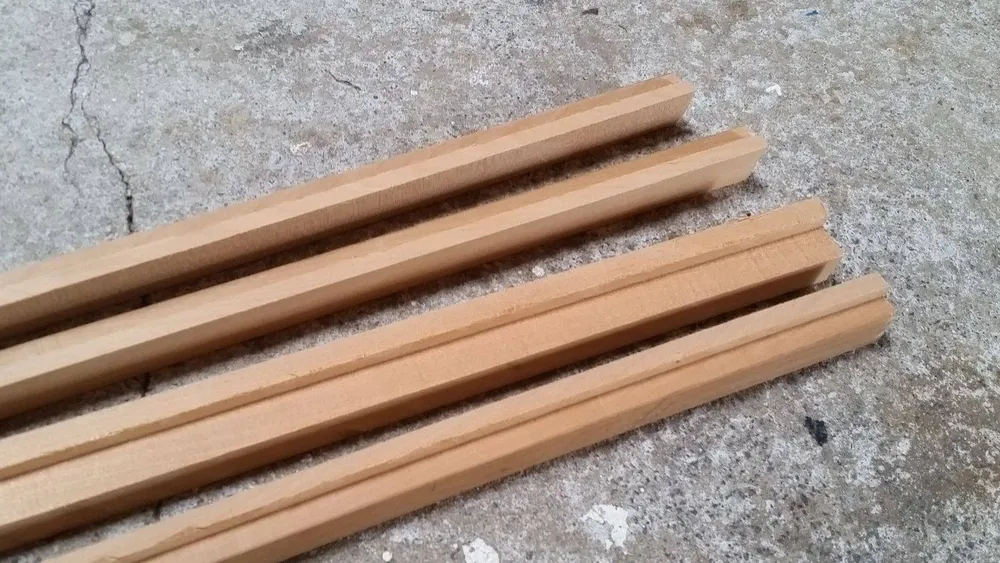
At home, i refined the blanks and beveled their inner edges with a hand plane, then cut the mitres with the Stanley, all to almost exactly 45°. Impressive. Gluing, sanding, oiling, waxing, and voilà, a beautiful wooden picture frame:
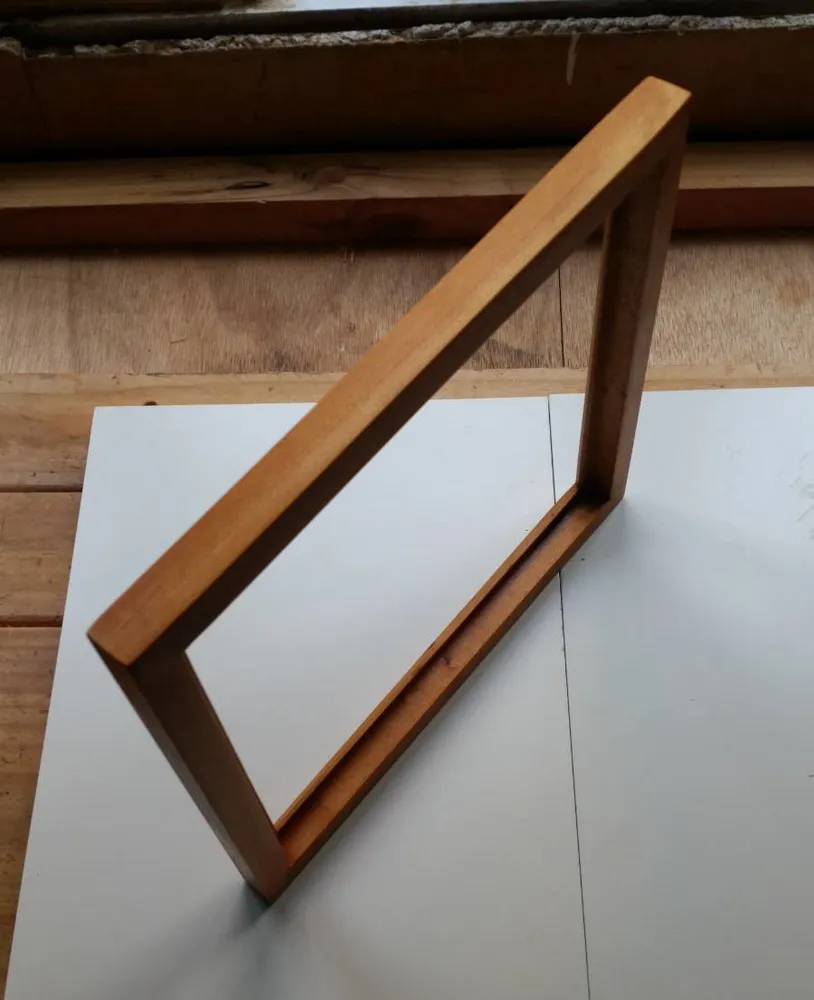
OK OK, there's a tiny gap in the upper-right joint, but i bet you wouldn't have noticed hadn't i pointed it out.
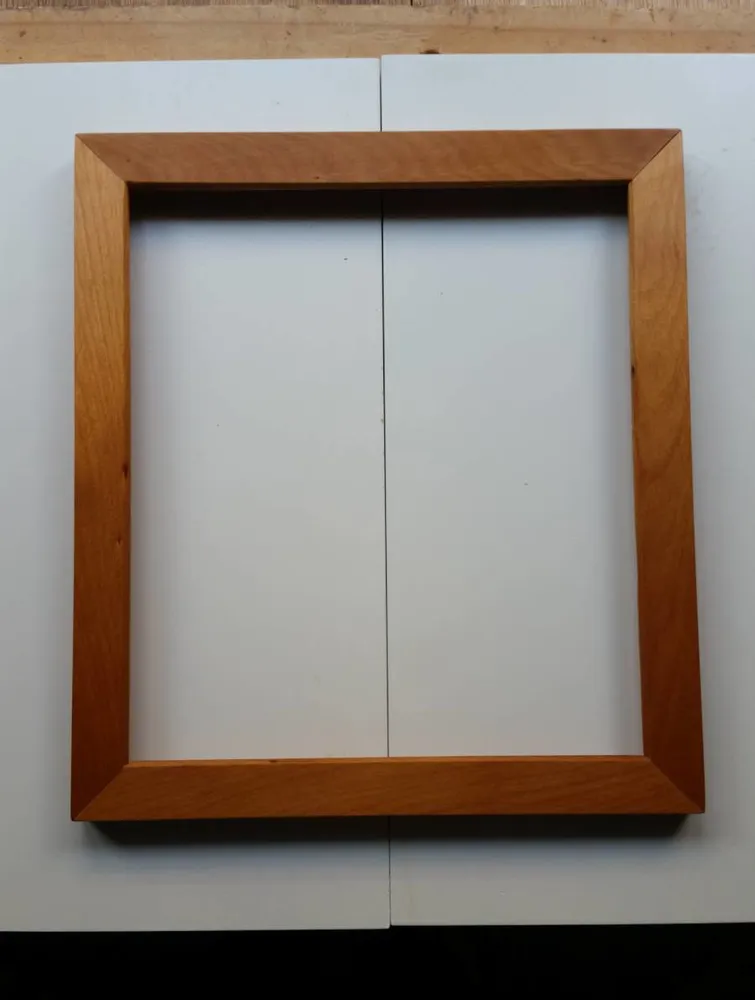
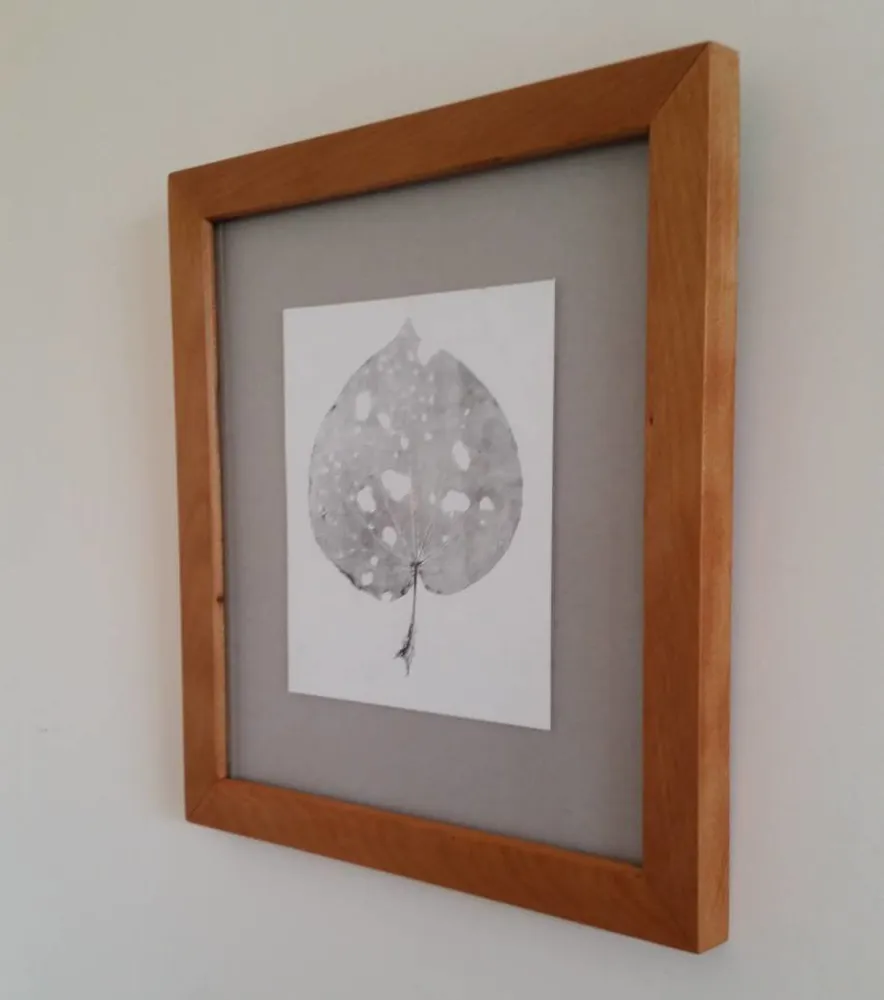
Of course, the girlfriend premeditated this whole project and had glazing and artwork ready to fit when the frame dried. Now the finished piece hangs on our living room wall.
Instructions
If you also want to build a wooden picture frame, then i suggest you watch the two videos below to understand the process, read my summary afterwards to get your measurements, then go for it. But start with a small picture frame, because that's easier than building a large one. Oh, and i don't think you need splines, because mitre joints fused with modern wood glue are actually very strong. Splines are pretty, though.
A hand-tool approach:
Video sourced from YouTube here.
A power-tool approach:
Video sourced from YouTube here.
My summary for either approach (or combination thereof) plus a reference diagram:
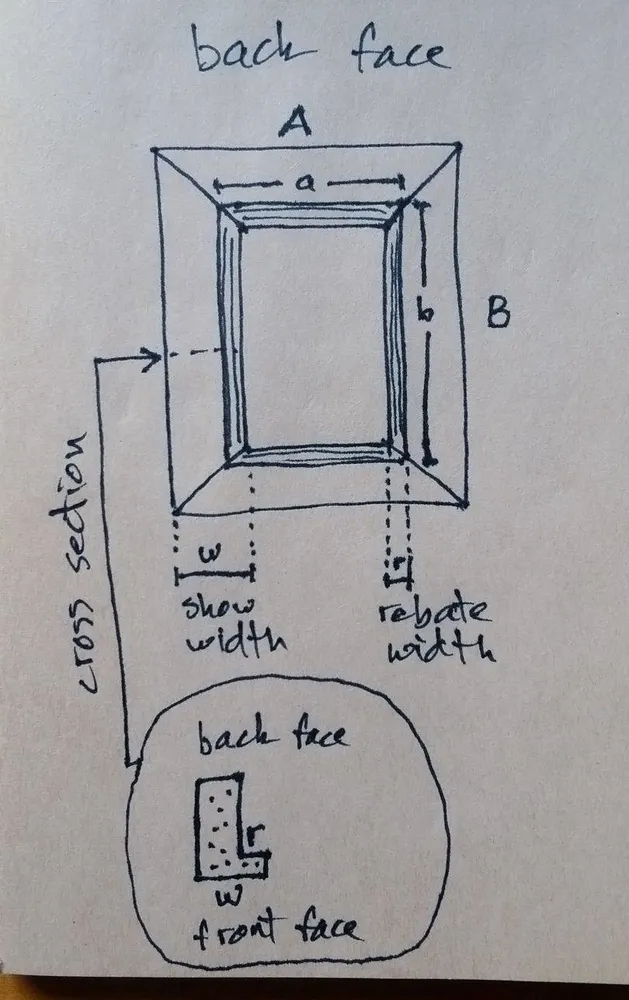
- Get the glazing that covers your mounted artwork (without gaps, i assume), and measure its side lengths a and b in your favorite units, e.g. millimeters, and use those units henceforth. If this is your first picture frame, i suggest you use acrylic glazing instead of glass, because the former is easier to trim than the latter, in case your frame comes out too small.
- Choose a width w for the front (show) face of your picture frame, and choose how much of that width —call it r— you want to rebate away from the back of the inner edges to support the glazing. I recommend choosing r ≥ 3 mm. Now the outer side lengths of your frame are determined at A = a + 2(w − r) + ε and B = b + 2(w − r) + ε, where ε ≈ 2 mm is slop for the glazing fit.
- Choose a piece of wood slightly longer than 2(A + B) and dress it to width w. If you can't get wood that long, then choose two pieces of lengths slightly longer than A + B, A + B. If you can't get wood that long, then choose four pieces of lengths slightly longer than A, A, B, B. Call these lengths, the frame blanks.
- For each blank, cut a rebate of width r into its back (non-show) face on the side that will become the inner edge of the picture frame. The depth of the rebate is up to you, but it should be deep enough to fit the glazing, mounted art, and fasteners (of course!) but shallow enough to leave at least 3 mm of wood to support the glazing. Then mold the front face with bevels, beads, etc., precisely duplicating that molding across all blanks. The fewer blanks you have, the easier this molding step is.
- Using some kind of mitre guide for goodness sake, cut 45° mitres into the blanks so that the longest edges come out to lengths A, A, B, B. I suggest marking and cutting one length at a time and starting each cut at least a smidgen away from a corner, so your saw doesn't wander. Starting with blanks slightly longer than the sum of the final lengths allows for those smidgens. Check each mitre you cut against a 45° reference angle, such as one built into a combination square, and tidy your cut, if needed, with a sanding block or mitre shooting board.
- Test assemble without glue your newly finished frame sides. Is the frame a rectangle, and are the joints gap-free? If not, trim the mitres more. Does the glazing fit? If not, trim that too, which is easily done on acrylic with a hand plane, and not so easily done on glass.
- Glue the joints and clamp them, e.g. with a band/strap clamp. After the glue drys, trim/sand any rough show bits, and coat the frame with your favorite finish.
- Attach the glazing and mounted artwork to the frame using tape, nails, picture frame points, or whatever and afix some kind of stand or hanger.