Nana the Nightstand
H, the girlfriend, wanted a rimu nightstand to replace the one she was still borrowing from our former flatmate, so i said i'd make her one for our anniversary, if she drew a plan. She did

and i promptly started work on it.
I found legs, bracing, some wide stock, and a drawer in my reclaimed wood collection —recycle, recycle, recycle— then got more wide stock from a secret place. I cut the pieces (not all pictured) with my trusty ryoba
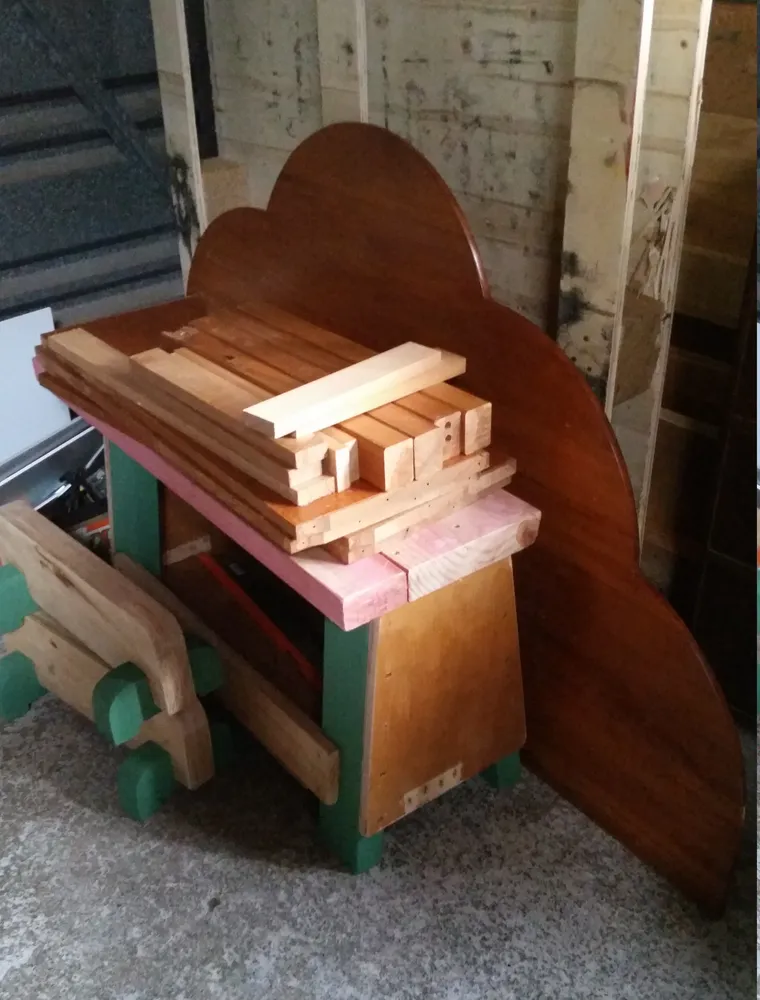
and, the funnest part, trimmed the drawer.

I planed off the old varnish, some with a hand plane and some with the power plane at Hackland, chamfered the legs, and sanded. Ugh, sanding. One day i'll learn how to hand plane without tear-out and skip the sanding.
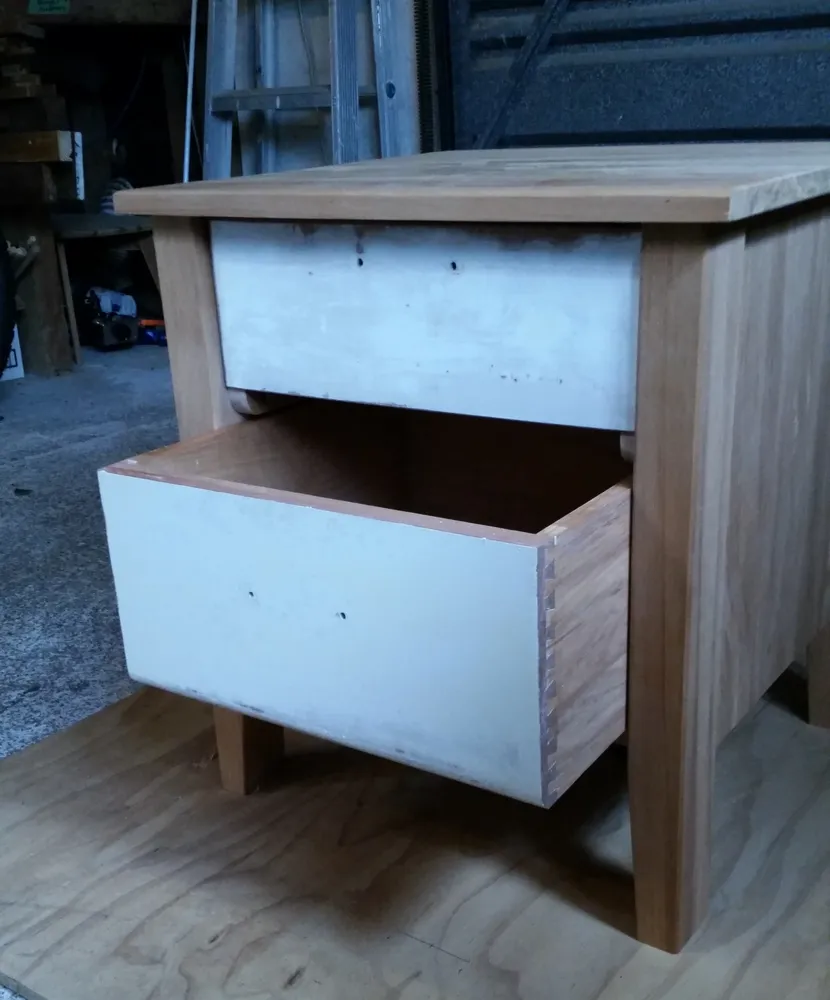
In the meantime, H changed her mind and said a second drawer would look better than a shelf at the bottom. Luckily i had one more drawer from a previous demolition that matched the top one.
I joined the carcass with pocket hole screws, because they are so easy and appropriate, then fit the drawers, leaving about 4 mm of wiggle room on the top and 2 mm on each side.
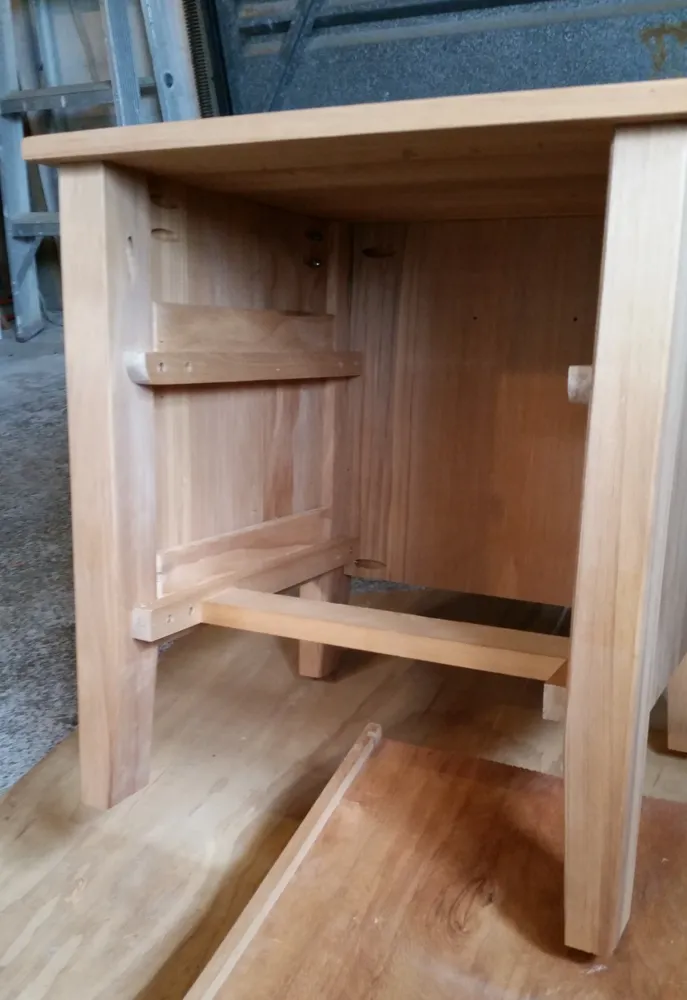
This was my first time making a carcass, and surprisingly, everything fit together as planned! OK, i needed one thin shim.
Lastly on the build, i attached rimu faces to the drawers and made handles.

Then i finished the piece with boiled linseed oil and paste wax. Presto!

H loves it and calls it "Nana" after the dead lady from whose granddaughter we got the top.
Lessons learned:
- Carcasses aren't that difficult to make if you use pocket hole screws and remember to build in slop.
- Next time, cut the drawers from the same stock so the grain matches, and beware strange streaks in the wood, which get accented with finishing.
- Don't put the nicest piece of wood on the back!
- Use tung oil instead of boiled linseed oil for a lighter, water-mold--mildrew-resistant, and three-times-more-expensive finish.
Why no comments? Public comments take too much time to moderate and maintain, time better spent playing outside, but you can still email me private comments by clicking the 'Comment' link above.